Info
24x7 Support with WhatsApp please send us any of your questions or query like installation queries, after-sales support requests, customization requests, and any other queries to: [email protected]
Introduction Last updated: 2024-06-15
Thank you for your interest in Stack School.
Stack School is a complete Multi Branch school management system developed using Laravel (v10) and ReactJS Library. Laravel ( PHP Framework for Web Artisans) is a web application framework with an expressive, elegant syntax. We’ve already laid the foundation — freeing you to create without sweating the small things. ReactJS Library created by facebook is open-source. It is used to develop single page web application, as well as being the primary method of creating applications.
Stack School comprises 1 Api's Documentation, 1 Web Panel, 1 website –
Basic Prerequisites
As Stack School is a complete system with lots of features for web application, it is compulsory to have some basic knowledge in both server side and web application development if you want to do the installation, setup and publishing with your branding yourself.
- IDE for Web development, we preferred VSCode.
- React 18 And Node Js 20 In your system.
- Real server Server related knowledge like apache or local machine server, we preferred to use a real server.
- Server related knowledge and we preferred cPanel in your server for quick installation
- Basic knowledge in PHP, ReactJS, Laravel if you want to do some customization yourself (Not compulsory).
Server Prerequisites
- Stack School requires PHP v8.1+ and MongoDb 4.0+
- MongoDB Atlas Account & Database Create Account
- Mod_rewrite Apache
- BCMath PHP extension
- mongodb PHP extension
- Ctype PHP, JSON, Mbstring, OpenSSL, PDO, Tokenizer, XML, Zip, Fileinfo, Gd, sodium Extension
Install on server
1. Api Code Installation
After download the code from codecayon and unzip the zip files and go to Stack-School-Api.1.0 folder in your directory. and copy the all file and upload on server, Stack School can be installed on your main domain or subdomain: For Example, example.com/install or school.example.com/install
Info
As the admin panel and web app are developed using two different technology, If you want the web app in your main domain then you need to install the admin panel in a subdomain. For example if you want the web app(website) in yourdomain.com then you can install the admin panel in admin.yourdomain.com or in any subdomain. Later in web app part you will know how you need to install the web app on your server.
Let's start the installation-
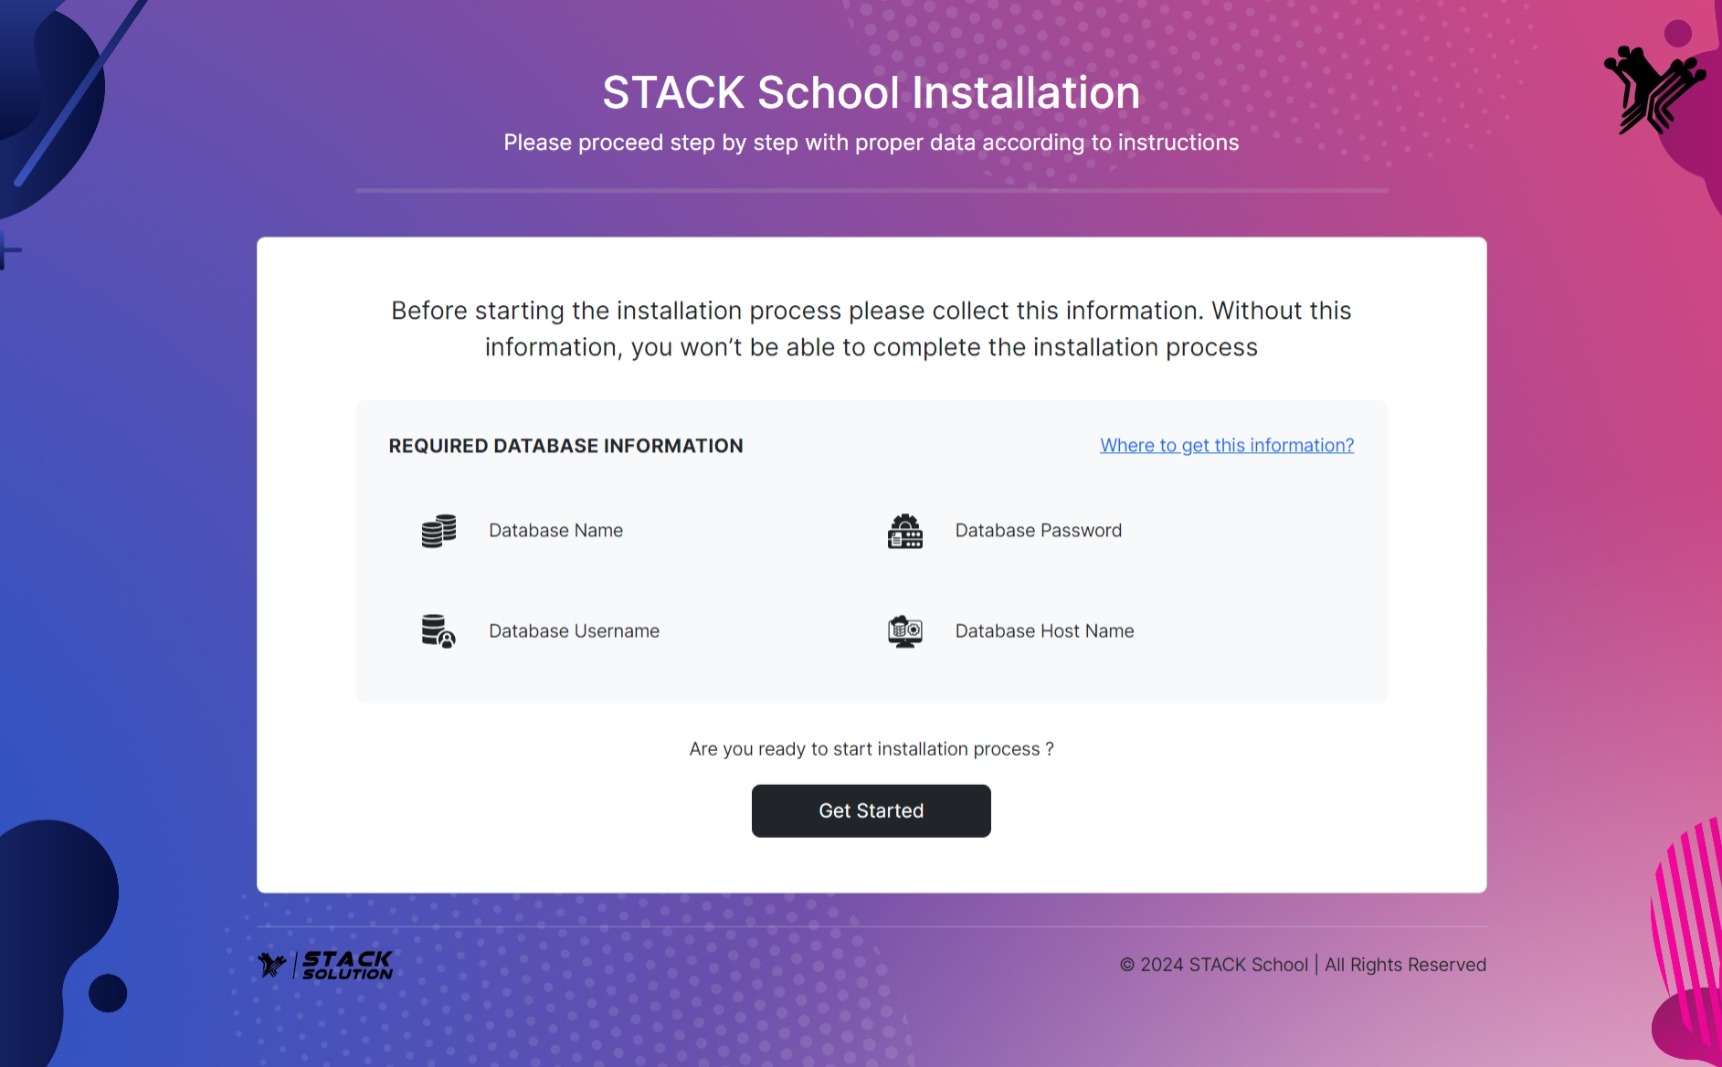
- First hit your site URL and it will automatically take you to the installation. Click Get Started to start.
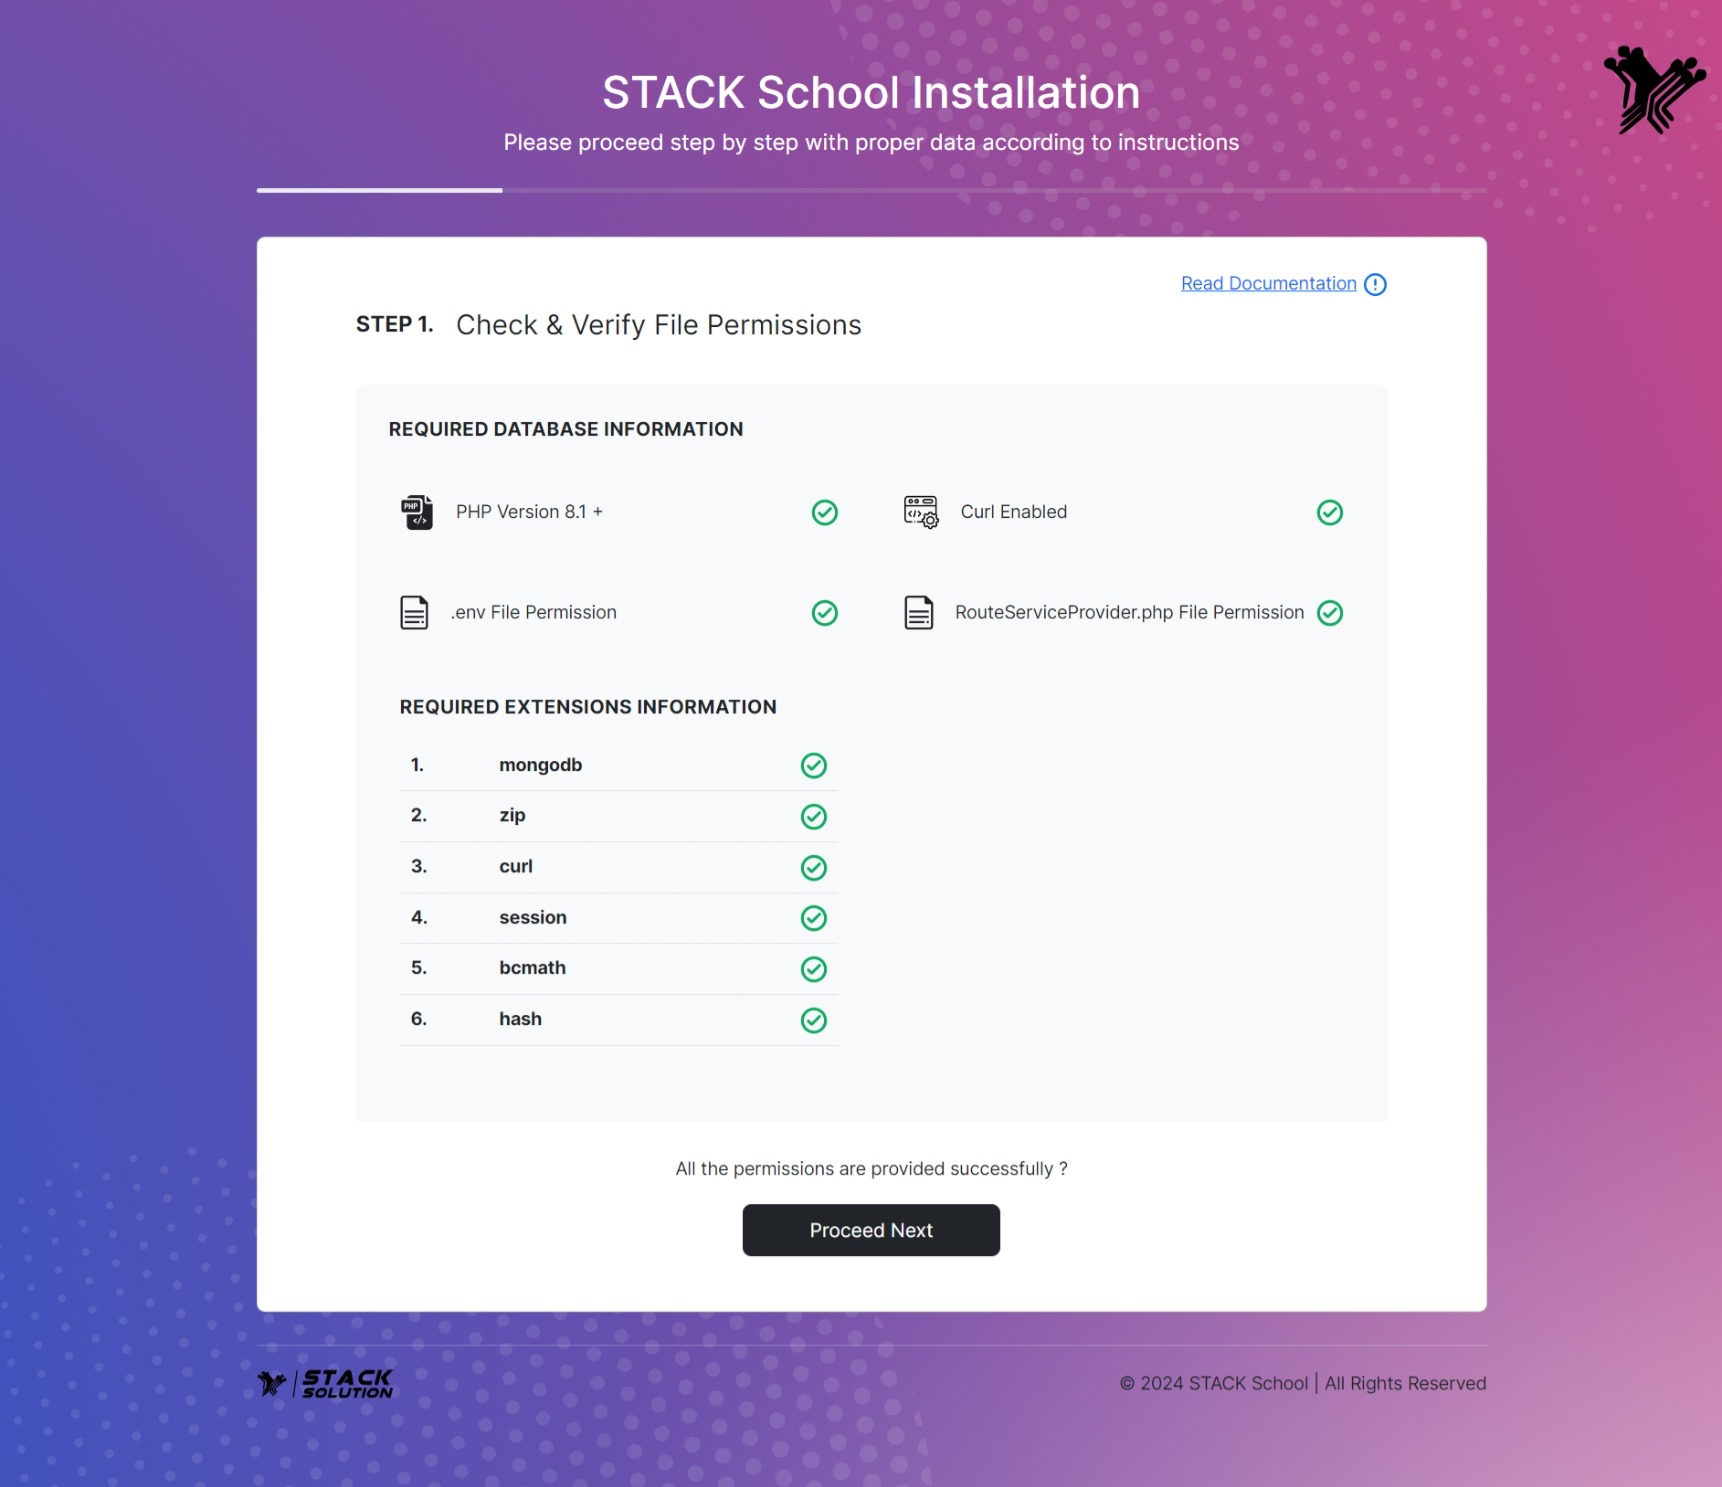
- Step 1: All the required extensions and permissions must be enabled. Check the required information if everything is OK then click on Process Next.
Info
As the admin panel developed with MongoDB Atlas, it provided an easy way to host and manage your data in the cloud free of cost. This tutorial guides you through creating an Atlas cluster, connecting to it, and loading sample data. Click here?
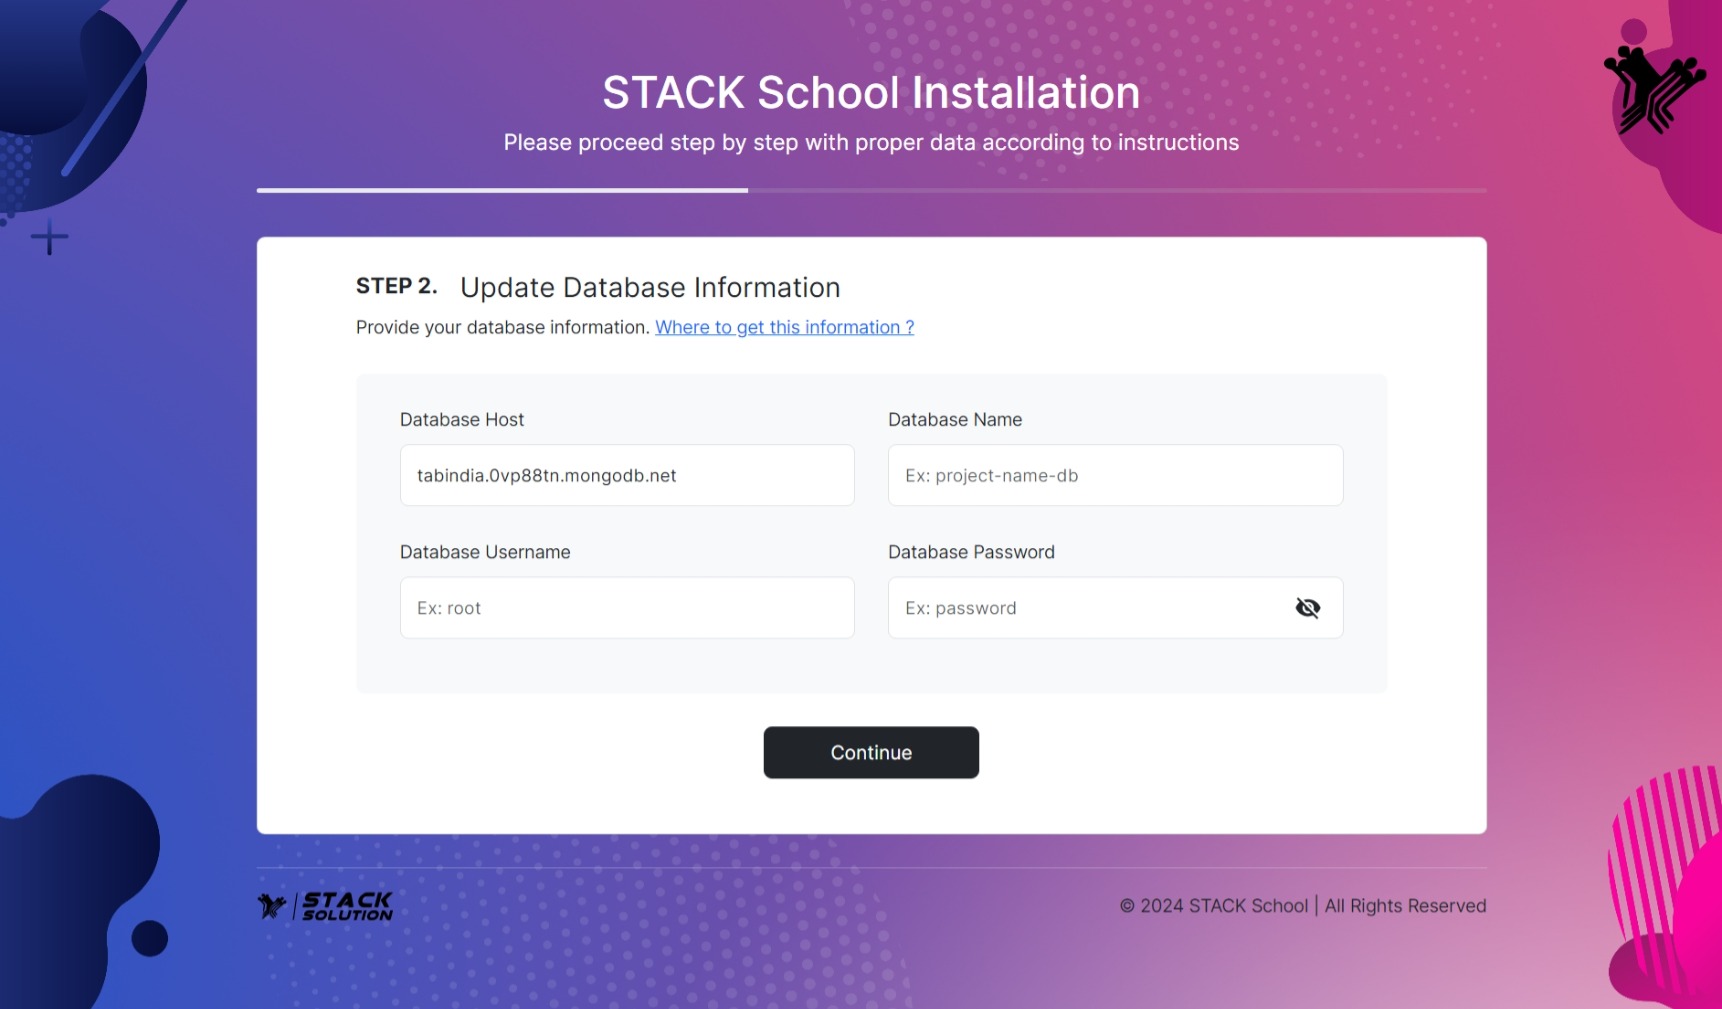
- Step 2: Now you need to set Database host, Database name, Database
username & password and click Continue. If the database in your
server then the host is
localhost.
- Step 3: Provide your codecanyon username and purchase code and Continue.

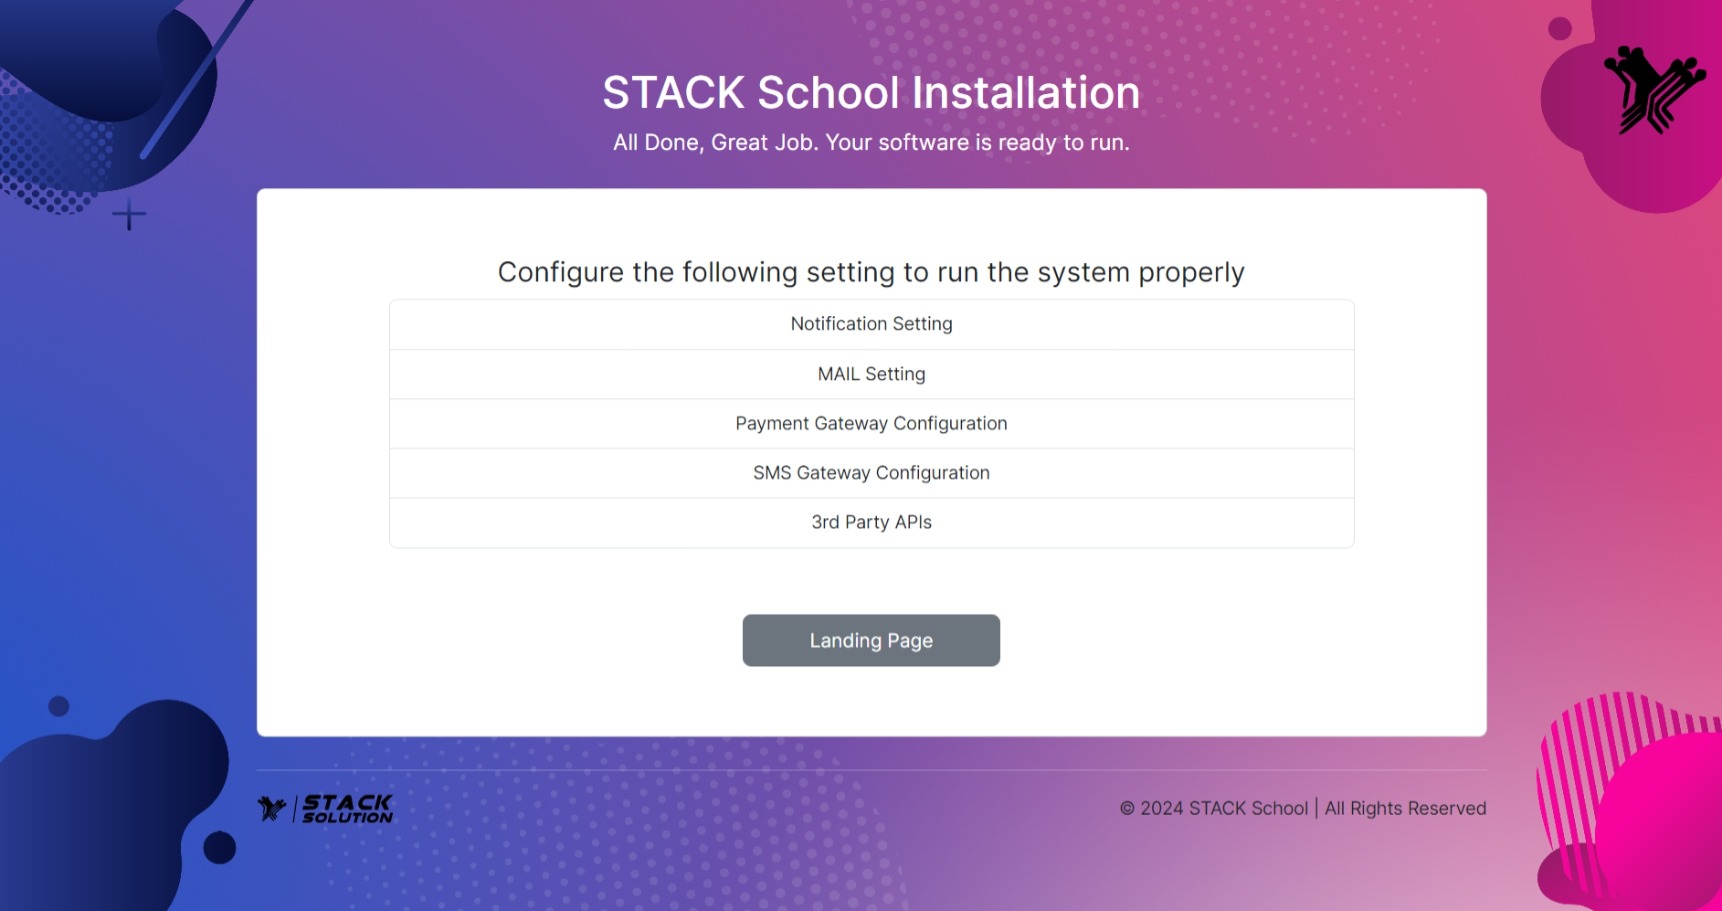
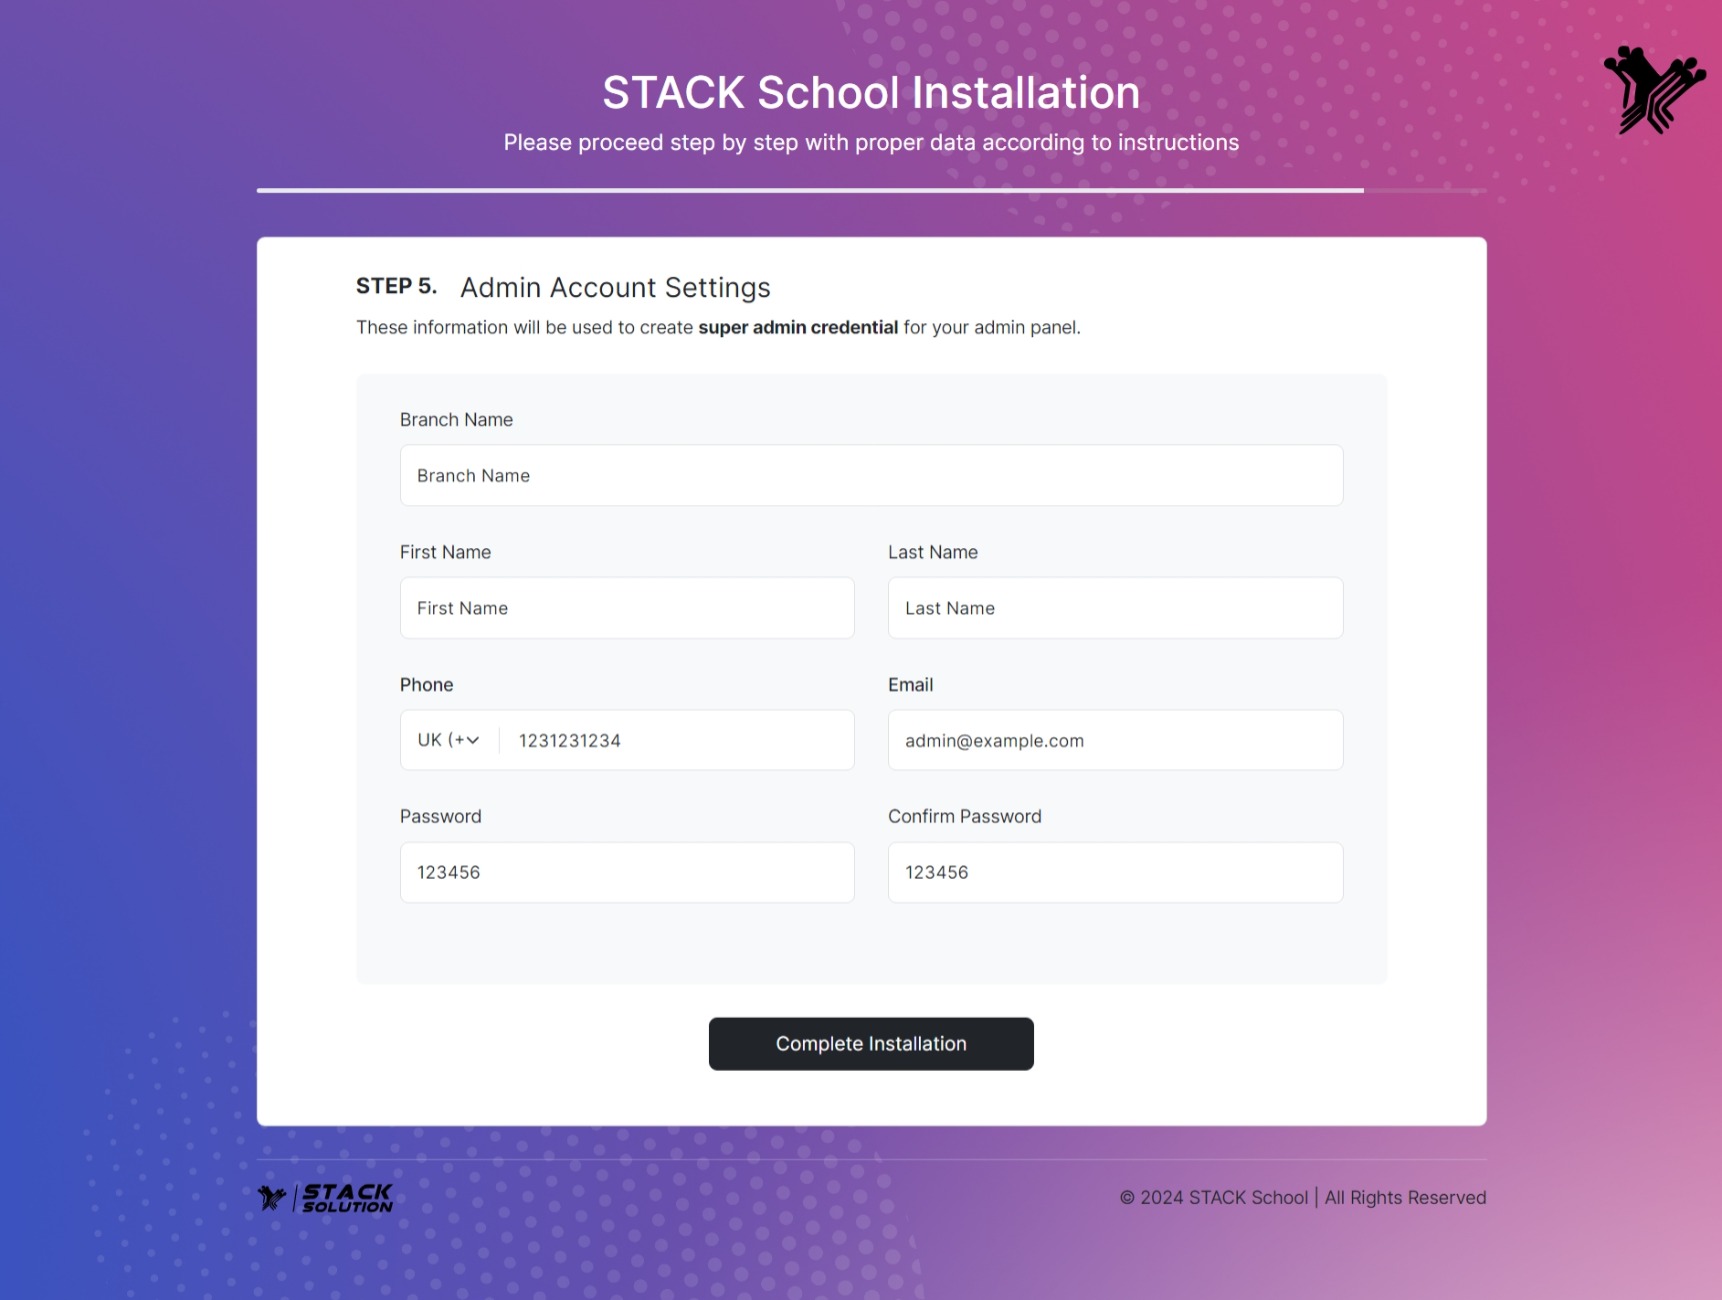
- Step 4: Now fill up the information and click Complete Installation
Congratulations! Your software is ready to run. Click on the view Landing Page.